


Spaceships, Pie Factory, & Caturday
what to do when life gives you cardboard

If you’re like us, you probably have some cardboard hanging around in your recycling bins: delivery packaging, shoe boxes, cereal boxes, etc. We want to cut back on packaging and deliveries, but we’ve also found that extra cardboard is VERY USEFUL and can be turned into all kinds of fun stuff. Also, our dump is closed down because Chatham has a dump truck driver shortage. So if we don’t want to tote our recycling across the county, we will be doing lots of reusing!
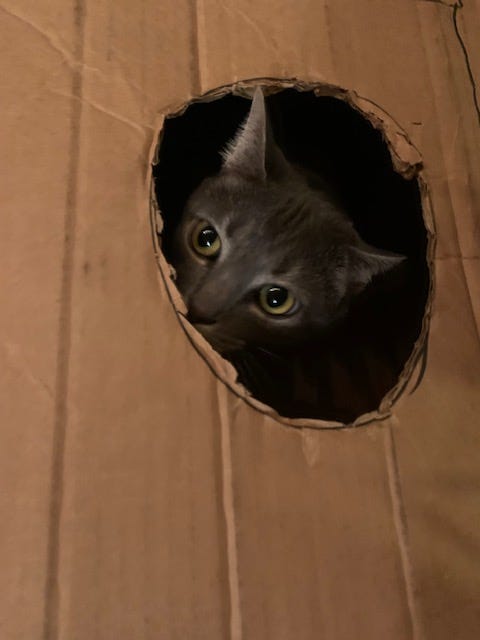
On Saturday Bea turned a large cardboard box into a spaceship with scissors and markers, and she and Harriet played with it all weekend. Monday, when the girls went to school, it became Coco’s hideout (above).
We also started making our Halloween costumes, and yes, we are using cardboard. Bea will be back with a how-to costume accessory post on Friday.
My personal favorite thing to do with cardboard is make board games. I think most commercial board games are terrible to play—so slow and predictable! (The game Sorry will make you sorry you played! Scrabble is so. much. waiting. your. turn.) But if you make your own games they can be crazy—especially if you make them with kids.
At the start of the pandemic, we made two great games that we still love to play. They’re called “Caturday” and “Pie Factory.”
Here’s how we made them:
1. First, get a large piece of cardboard and cut it into a rectangle. It’s fine if it has folds or creases, like a real board game. The flaps on large boxes work especially well. Think of a theme. Caturday’s theme was “what our cats do on a Saturday” and Pie Factory’s was “things that happen around the Pie Factory, which is also what we call our house.”
(Each time Harriet pulls a card, she says “Harriet fell in the river” even though that isn’t a card… but it should be!)
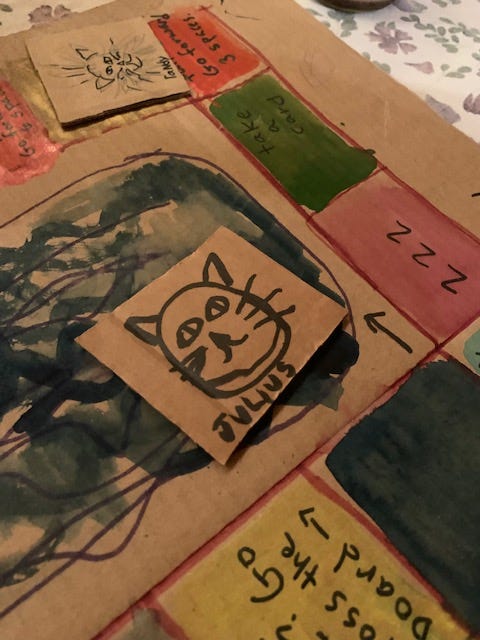
2. Next, take a marker and draw your spaces. We like to freehand ours, and just used a rectangle, but your spaces can be arranged however you like. Years ago, a fifth grader I taught made an amazing lemur board game that moved the pieces up different trees on the board—the cards had questions and facts about lemurs. It just needs to be clear where you start, and what direction you go in (or not!).
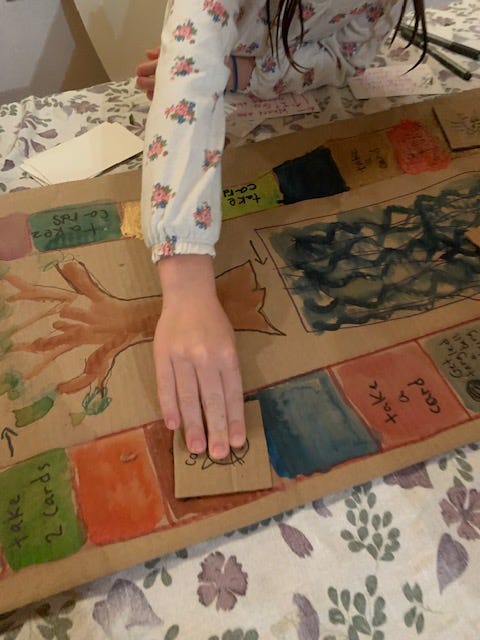
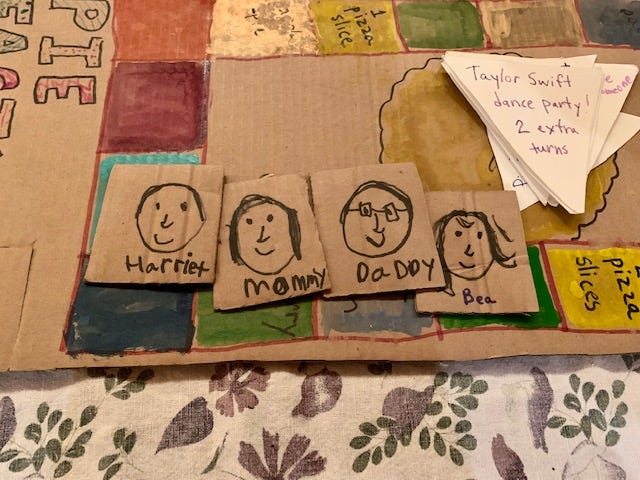
3. Somewhere on the board you need a place to put your cards. In Caturday, we had a tree and a big pool, which if you fall into (as one of the cards directs), you just straight up lose the game, which is hilarious. It’s important to note, about games that you make yourself, that no one really minds losing them—not because they don’t care, but because homemade games feel different. It’s like you already won by making such a fun game, or something like that. In Pie Factory, we have three different “pies” in the center of the board—cherry, apple, and pizza. Those held pie wedge cards that are shuffled and placed face-down.
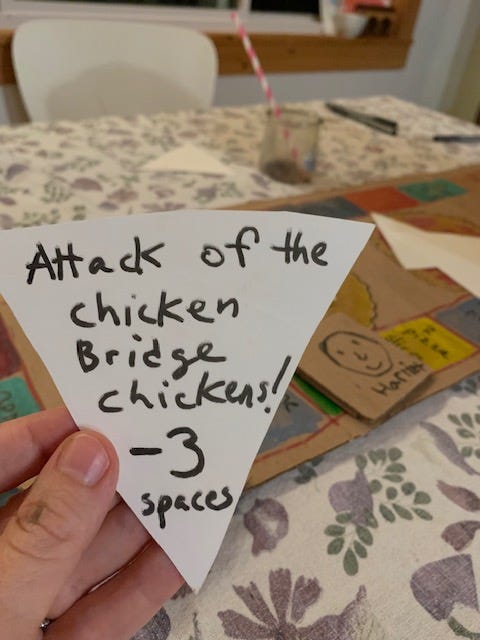
4. Next, color in your spaces and decorate your board. Coloring in marker on cardboard is a drag, so I’d recommend crayons—or, even better, paint. We used Japanese watercolor on ours which is highly pigmented and works great on cardboard, but tempera paint is also good. Painting is much faster than coloring with a marker, and generally more pleasant and easier for kids. Once the spaces are dry, randomly write “Move forward two spaces” or “Lose a turn!” or “take two cards” around the board. We find it especially fun to have extreme reversals of fortune in our games— “Go across the board” works well for that.
5. Make the cards—we used cardstock for the pie wedges and index cards for Caturday. We made outcome cards, where the card you draw directs you around the board, but if you’re making a game for school or a project (like the lemur game I mentioned), you could make quiz cards, which teach or test facts about a subject).
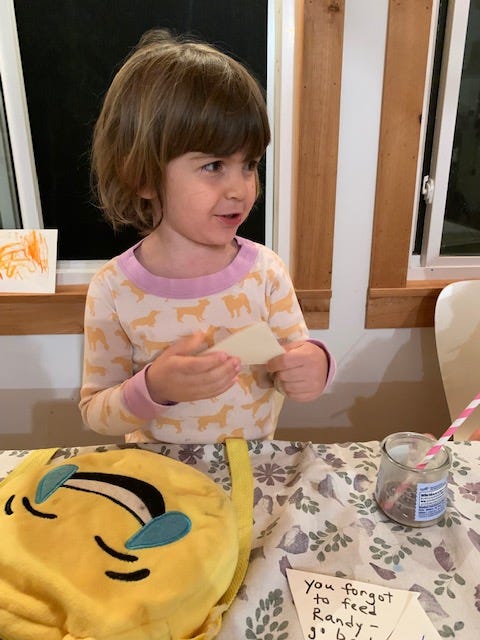
In our games, we came up with reasons behind the outcomes (moving forward or back or losing a turn) that are specific to the game themes and our household. So, in Caturday, there are a lot of “Nap time! Lose a turn” and “Neighbor lady feeds you cream! Move forward five spaces” and “You forgot to feed Randy! Go back two spaces” sorts of cards. (Randy is our part-time cat, who comes around every few days but will not let us take him to the vet, etc.). In Pie Factory, we were even more specific, with bonus points for things like getting Bea to school on time or solving the Sunday puzzle, and minus points for “Big summer blowout!” (a Frozen joke and a throwback to Harriet’s diaper wearing days).
6. Make the game pieces—we just cut out cardboard chips and made faces for each of us for Pie Factory, and each of our cats for Caturday. If you lose one, you can always make another. We used a extra die from a regular boring game.
7. Finally, play the game! If you have older kids making a game for a project (games are great for project-based learning), they can write instructions, decorate a box (cardboard shirt boxes work well for this), and test it out to see if it “works,” but for our purposes, if you’re laughing your butt off, it works.
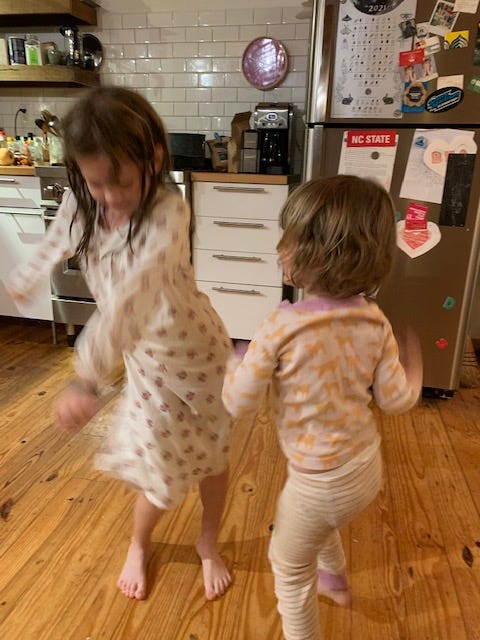
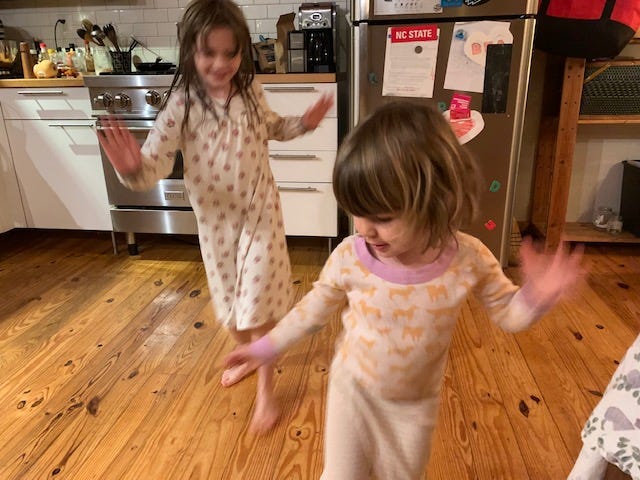
Note: if you are playing with younger kids, it’s fun to add “Taylor Swift Dance Party!” or “Old Town Road Dance Party!” or something else they like as one of the positive cards to get. Then you can stop and have a dance party. Come to think of it, “Old Town Road” would be a good board game theme. Bea and I talked about it this morning on the way to school, and we’re also thinking about making a mushroom foraging game.
See you Friday with Bea and Harriet’s cardboard Halloween accessories!
Super ideas!!😂⭐️⭐️💚💜💜👏👏👏
I will take this and run with it! I cant wait until Miles and I get together again. My love to you all.