


A fall-back craft
for longer nights

Want to hear my new motto? It came from Harriet, musing in the car on the way to school:
“I’m not available for sinking. I’m only available for swimming.”
She was talking about actual swimming, but it works for daily life, especially as we move into the darkest time of the year that also, somehow, seems to be the busiest. Many teachers, especially, struggle this time of year—a friend once told me, about the Halloween-Thanksgiving season, “This is my favorite time of year! And I miss it, because of teaching!” Take care of yourself, take care of yourself, I have been repeating to our graduate student teachers, because something about the waning light and new chill—plus, of course, the approaching end of semester—makes you feel an urgency to work beyond capacity.
But, as with swimming, that will only wear you out. It might even make you sink—and you’re not available for that! Why not take a pleasant hour on a Sunday to make a beautiful fall lantern, which you can then light up and enjoy in the evening, or enjoy on a woodland stroll?
We found this lantern tutorial online, and adapted it for the supplies we had.
Fall lantern (adapted from Red Ted Art)
You’ll need:
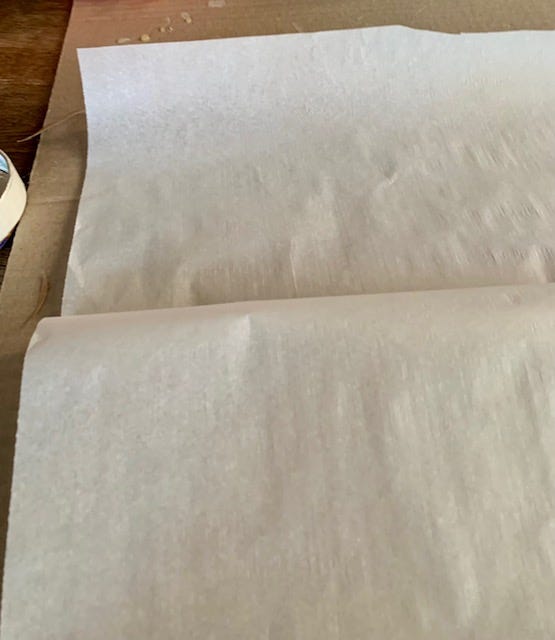
-Parchment or wax paper (we used parchment)
-pretty fall leaves (I bet you could make a cool one with evergreens, like pine needles and pressed cedar)
-Mod Podge or glue, plus hot glue if you have it
-Some twine and a hole punch
-Cardboard and a spent masking tape roll
-A battery-powered tea light or a candle in a glass votive
How to make it:
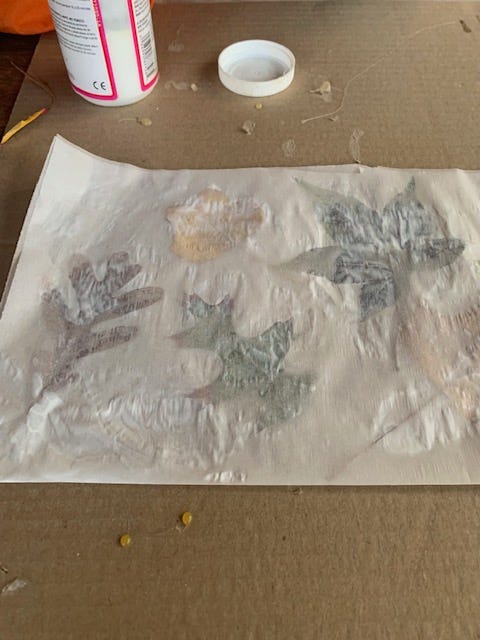
First, the best part—gather your leaves. Bea and Harriet chose colorful leaves that weren’t dried out and crunchy, in a variety of sizes.
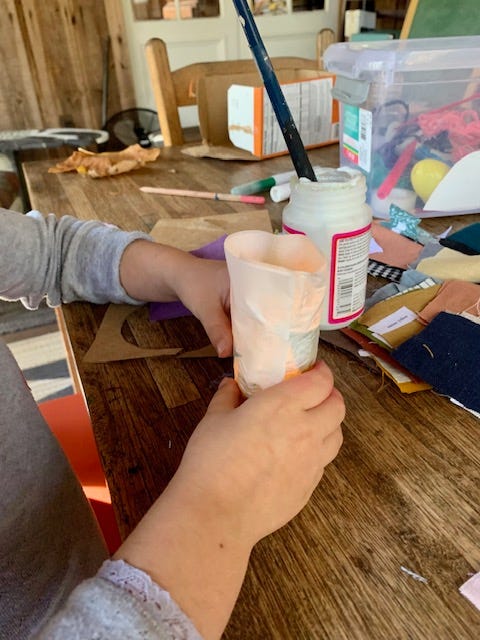
Next, measure your parchment against your masking tape roll, which will form the base of your lantern. You want the parchment to wrap all the way around. (If you don’t have the end of a masking tape roll, you can also make a small freeform lantern, like Harriet did, and glue it to a cardboard circle. Just measure out some parchment in the size you like.) Cut your parchment.

Trace the tape roll over your cardboard to make a circle. This will be the bottom of your lantern. Glue it to the tape roll. This is now the lantern base.

Fold the parchment in half, hot dog style, and make a crease.

Unfold, and set your leaves inside on the top half. Glue the leaves with Mod Podge or glue and add a little to the parchment.
Press the other side of the parchment onto your leaves, like a book, and press it as flat as you can. Don’t worry too much about wrinkles—they will look charming.

Wrap the leaf-stuffed lantern paper around your lantern base and glue it to the outer side of the masking tape roll. Let it overlap a bit.

Dot some glue along the overlapping seam, and add two hole punches, on opposite sides. Thread some twine through the holes and tie it to make a handle. If you like, you can also decorate the base with washi tape.

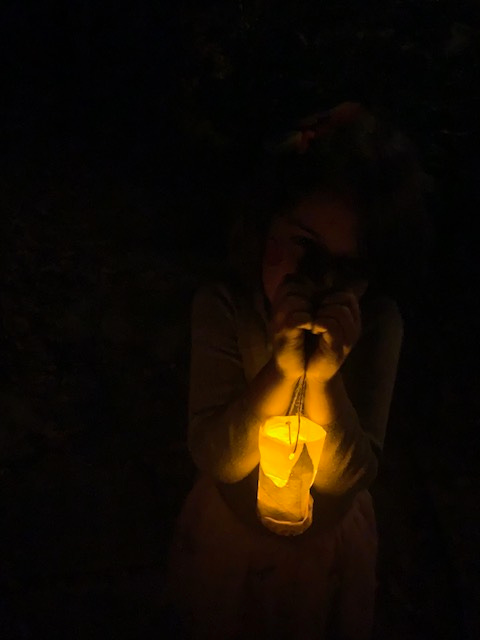
Place your battery tea light (Harriet has the kind the flickers) inside. Note that smaller lanterns should definitely use battery-powered lights.


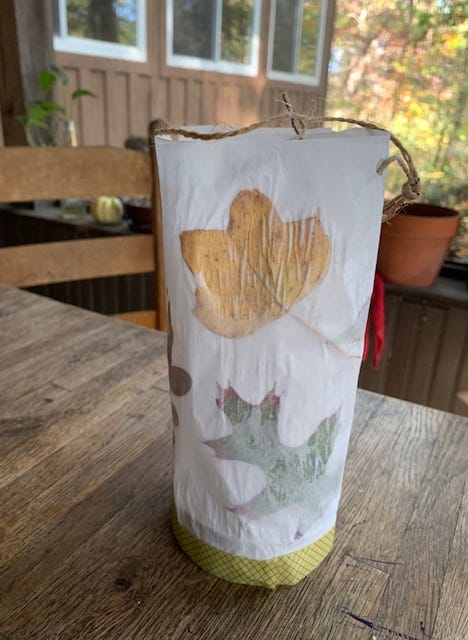
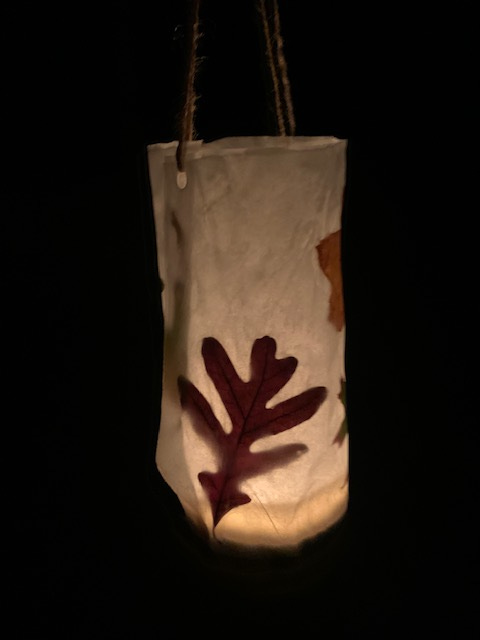
Harriet made her lantern just big enough for the battery tea light, almost entirely by herself! As soon as she was done she wanted to hike in the woods, and after a busy day (that still went swimmingly), she slept with it glowing next to her bedside.
How about you, Frog Troublers? Any tips on dealing with this early-dark, busy time of year? I think a set of these lanterns would also be a pretty decoration for a Thanksgiving table.
One more tip from us: leave your leaves! They are homes and food for animals and will help your fireflies, moths, and butterflies emerge next spring. Another way to think of it: what’s the best fall sound? Leaves crunching underfoot. What’s the worst fall sound? Leaf blowers!
Lots of love from us!
Delightful! Only available for swimming. Love it. Lantern. Love it. Thank you, Harriet for your wisdom.
Beautiful ! Harriet your wisdom is amazing and now i have my new mantra! if only i can learn how to swim! xxxooo